
You need:

Cut a simple tulip from cardboard. Roll them in different colors and print several times on a sheet. Experiment with colors on top of each other and wet in wet. Print the tulips in several heights and let them overlap for a spatial effect. Let dry and stick the art work on a colored sheet.

- corrugated cardboard or a cardboard box
- scissors
- roller
- blockprint or tempera paint*
- colored or white sheets
* blockprint dries more slowly and therefore works better than tempera paint.
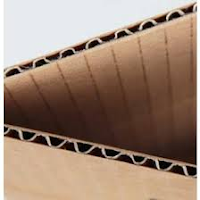
With cardboard boxes you can make beautiful prints. These tulips are cut from a cardboard box.

roll in with block print

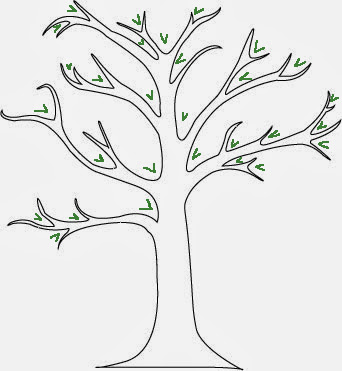
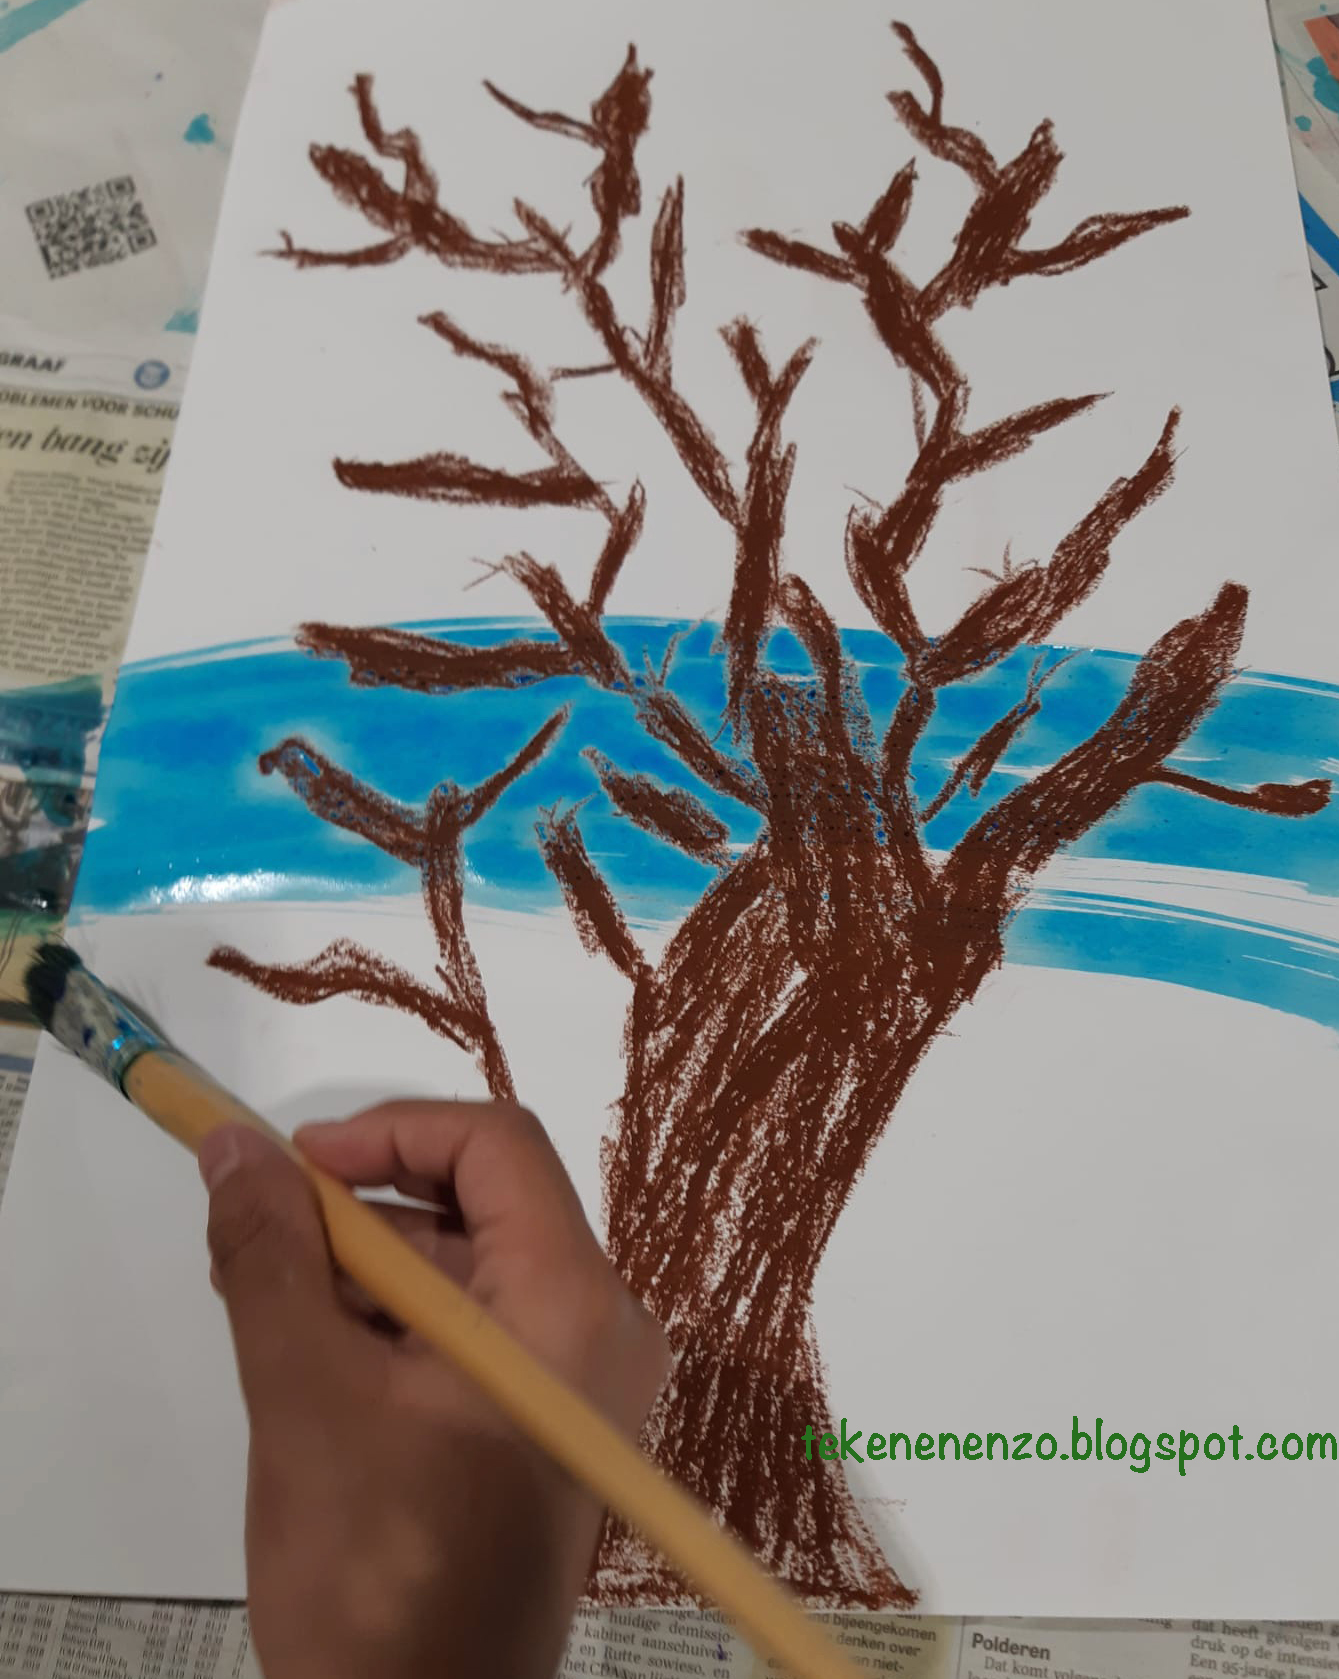
Elements of art: space, color, texture.


.jpg)
.jpg)

.jpg)


